WAP Help and User Guide – HR Module v18
This WAP HR Help and User Guide will take you through the features and settings for the Sicon WAP HR Module.
Search the page by pressing Ctrl + F (windows) or CMD +F (Mac) on your keyboard.
Back to all user guidesProduct overview
Help and User Guide maintained for WAP version 18.0.0 up to 18.0.38
The Sicon WAP HR module allows users to enter and manage their HR details, job information and for companies to distribute company policies and information to team members. HR module also links with WAP Expense module so updates to user’s bank and address details update their Purchase Ledger account directly in Sage.
1. HR Enable Configuration
For the HR module to be available the enable module must have HR module ticked. Once this is configured, HR options will then be visible within the System Settings.
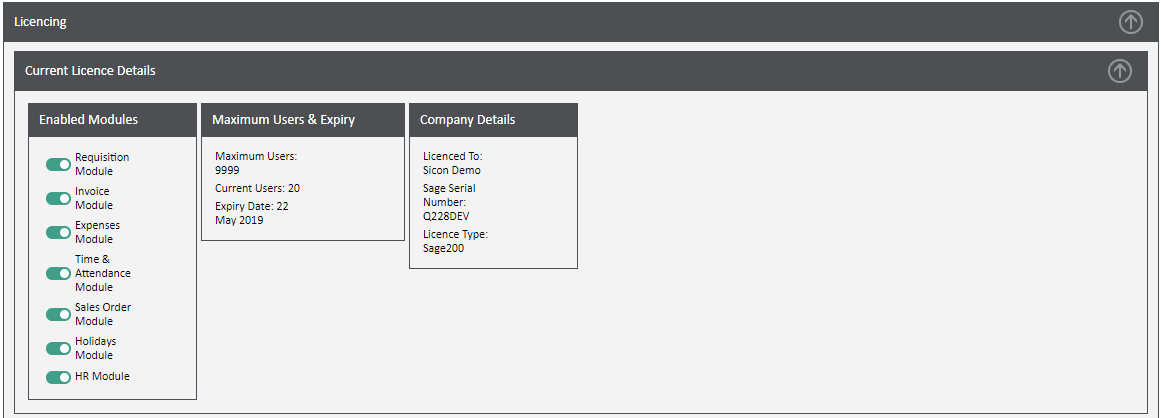
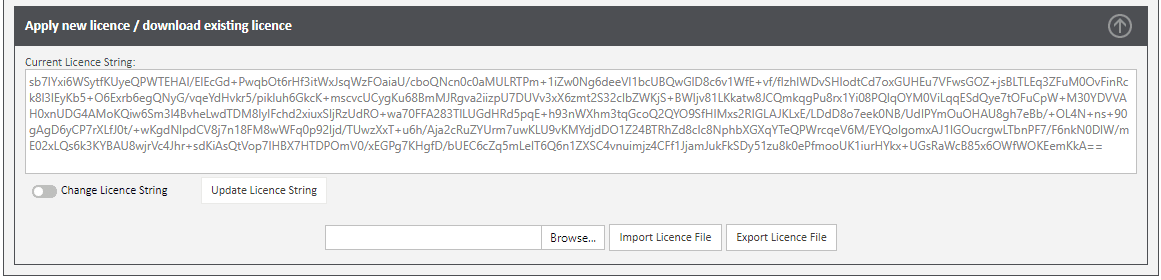
Each year WAP will require a new enable string to continue working. When a new one has been issued, select System Settings – Misc – Licencing – Apply new licence – Browse and Upload.
2. HR Settings
Before the HR module is used, a number of initial settings need to be configured. These settings are found within WAP System Settings cogs – HR.
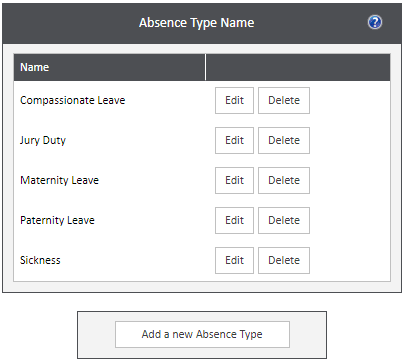
2.1. HR – Absence Types
Before a user is able to enter any absences, these need to be setup here. There is no limit to the number of absences allowed. To create a new absence, click ‘Add a new Absence Type’ and then enter the name as required.
2.2. HR – Courses & Qualifications
Courses and qualifications will show in here once they have been added; if the qualification has expired it will be highlighted.

To add a new course, click the button at the top of the screen.
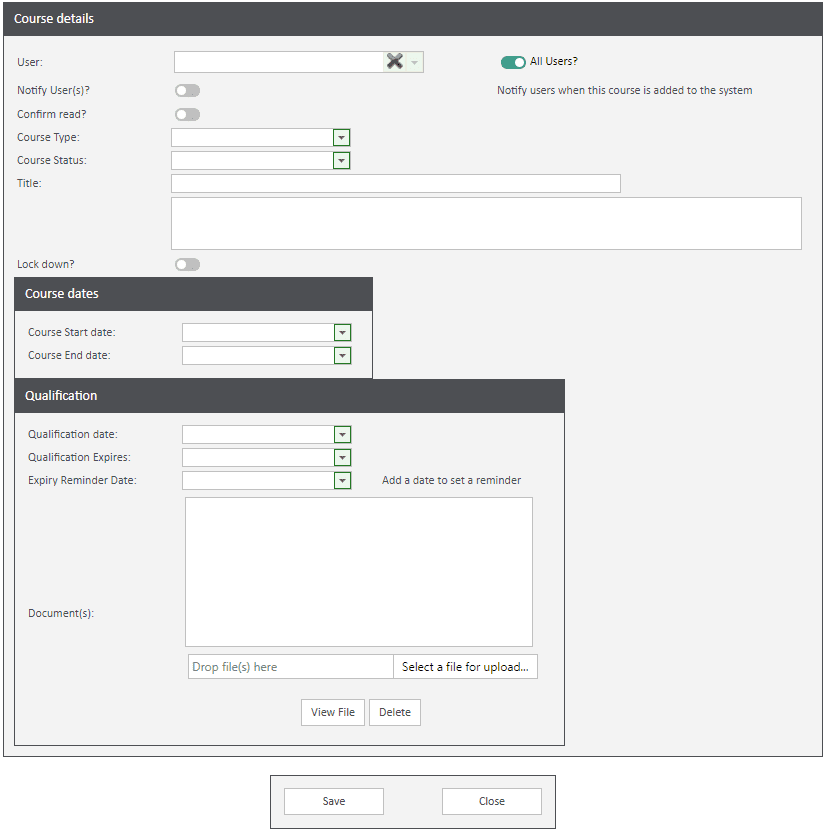
User: Select whether the course needs to be allocated to all users, or untick and select the required user.
Notify User(s)? If this is ticked, the user(s) allocated to the course will have a notification on their WAP homepage.
Confirm read? If this is ticked, the user(s) must go into the course and tick that they have viewed the course information.
Course Type: Select the course type from the drop down box. These course types are set up within HR System Settings.
Course Status: Select the correct status from the drop down box.
Title: Enter a name for the course – this is a free text field.
Description: There is an extra free text field to add more information against this course if required.
Lock down? If enabled, this will prevent any user apart from a HR admin making changes to the course.
Course Dates: enter course start and end dates as applicable from the drop down calendar.
Qualification Date: enter the date the qualification was or will be obtained.
Qualification Expires: enter the date the qualification will expire.
Expiry Reminder Date: enter a date to be reminded about the expiry date of this qualification.
Documents: upload documents if applicable that the end user will be able to see.
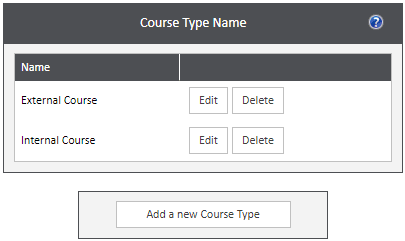
2.3. HR – Course Types
Before a course can be added, course types need to be setup here. There is no limit to the number of courses allowed. To create a new course type, click ‘Add a new Course Type’ and enter the name as required.
2.4. HR - Documents
Different document types will show in here once they have been added; there are four different types of documents that can be added – Appraisal, Certificate, Company Policy and Contract.

To add a new document, click Add New at the top of the screen.
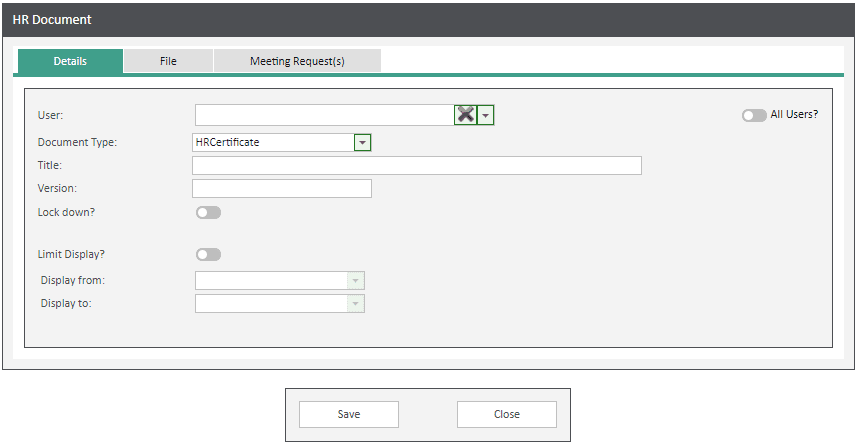
Details tab
User: Select whether the document needs to be allocated to all users, or untick and select the required user.
Document Type: Choose from the drop down list the correct document type.
Title: Enter a name for the document – this is a free text field.
Version: Enter a version number for this document.
Lock down? If enabled, this will prevent any user apart from a HR admin making changes to the course.
Limit display? Select if the document should only be visible to the end user for a period of time; for example, company policy about Christmas hours may only need to be shown for the month of December.
Display from: Enter a date that the document should be displayed from.
Display to: Enter a date that the document should be displayed until.
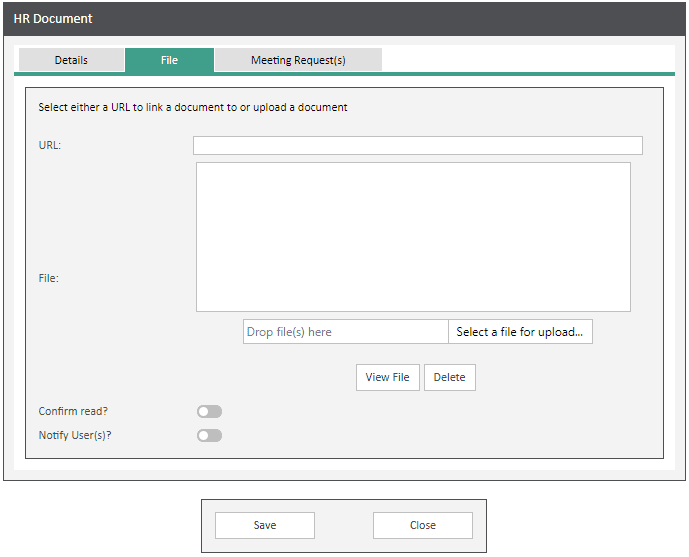
File tab
URL: Enter a web link to a document that will display to the end user(s).
File: Either drop a file or browse and upload to attach a document that will display to the end user(s).
Confirm read? If this is ticked, the user(s) must go into the document and tick that they have viewed the document information.
Notify User(s)? If this is ticked, the user(s) allocated to the document will have a notification on their WAP homepage.

Meeting Request(s) tab
If required, an Outlook invite can be sent to users to appear in their calendar; this might be applicable if adding an appraisal.
Subject: Enter the detail to be sent out to the user in the subject field.
Body: Enter the detail to be sent out to the user in the body of the invite.
Start Date/time: Choose the start date and time of the appointment.
End Date/time: Choose the end date and time of the appointment.
Location: Enter the location of the appointment.
Cancel meeting: If this document had been saved and an appointment sent, use this functionality to cancel a meeting.
Requests sent: Once saved, the requests sent will list out user email addresses here.
2.5. HR - HR Reports
Employee Absence Report Wizard
This report can either be run for one user or multiple users to see their absence scale showing number of absences, number of days and their Bradford scale. This report can then either be printed or emailed out as required.

Employee History Report
This report can be run to show the below details; who has updated the user details and when. Data can be shown on the below information:
- Employee Details (their AKA file, DOB, Gender, NI Number and Employee Number)
- Employee Address (their Address, Phone, Mobile and Email)
- Bank Details (their Bank Name, Bank Account Name, Bank Account Number and Bank Sort Code)
- Bank Address (their Bank Address, Phone, Mobile and Email)
- Emergency Contact (their Next of Kin First Name, Surname, Relationship, Telephone, Mobile and Email)
- Emergency Contact Address (their Next of Kin Address, Phone, Mobile and Email)

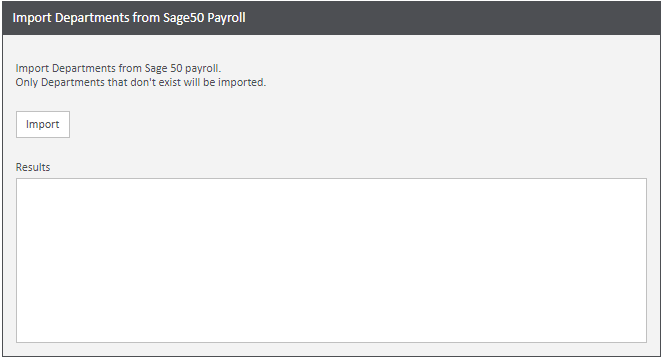
2.6. HR - Import Sage 50 Payroll Departments
This will import the Departments through from Sage 50 Payroll. N.B. Sage 50 Payroll ODBC connection details must be configured before this functionality can be used; these are setup in WAP System Settings – Misc tab – Sage 50 Payroll.
2.7. HR - Import Sage 50 Payroll Employees
This will import users from Sage 50 and create as WAP users; these WAP profiles can then be edited as required. HR details can be updated in WAP with details from Sage 50 if required. N.B. Sage 50 Payroll ODBC connection details must be configured before this functionality can be used; these are setup in WAP System Settings – Misc tab – Sage 50 Payroll.

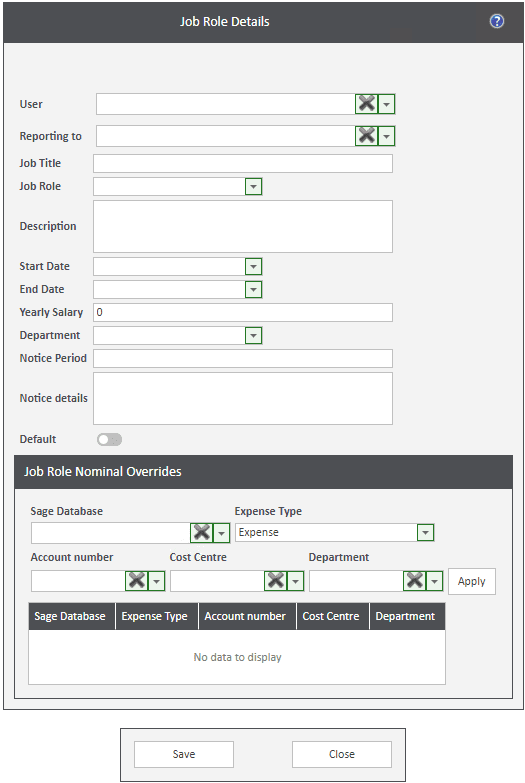
2.8. HR – Job Role Allocation
Once Job Roles have been created, this screen is used to allocate job roles to users. Once job roles have been allocated, these will be displayed here.

User: select from the drop down list the correct user. This is a mandatory field.
Reporting to: select from the drop down list the user’s manager. This is a mandatory field.
Job Title: enter the job title; this is a free text field. This is a mandatory field.
Job Role: choose from the drop down list the correct job role. This is a mandatory field unless adding a job role that is no longer a current role for the user.
Description: enter a description if required; this description will be visible to the end user.
Start Date: enter the start date from the calendar drop down option. This is a mandatory field.
End Date: if applicable, enter the end date from the calendar drop down option. If the job role is current, leave the end date field empty. If adding an end date, the job will not be marked as active.
Yearly Salary: if required, enter in the user’s salary for the job.
Department: select the department from the drop down option.
Notice Period: enter the user’s notice period; this is a free text field.
Notice details: enter any extra details about the user’s notice period.
Default: select this as default if the user is to have multiple job roles allocated and one will be their default.
Job Role Nominal Overrides: if nominal codes should be overridden based on the user’s job role when the user enters either an expense or mileage claim, choose the relevant nominal code for the current job and Apply. When the user enters a mileage or expense claim, based on the job role selected, the nominal code will alter. This is here for the instances where a user may spend a couple of days working as e.g. a Support Consultant and a few days as an Implementation Consultant. Depending on what job role the expense was for will determine the nominal code of the expense or mileage claim. This nominal override option is not a mandatory field.
To link a job role through to a user, click Add User Job Role.
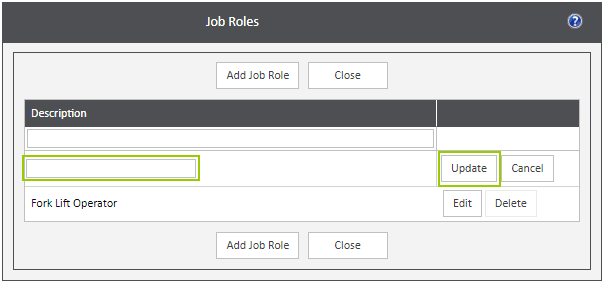
2.9. HR - Job Roles
Add in as many job roles as are required here. To add a new job role, click the option, enter a description in the description box and click Update. Once a job role has been added here, it will be visible to select when allocating a job role to a user.
2.10. HR - Update User Details from Purchase Ledger
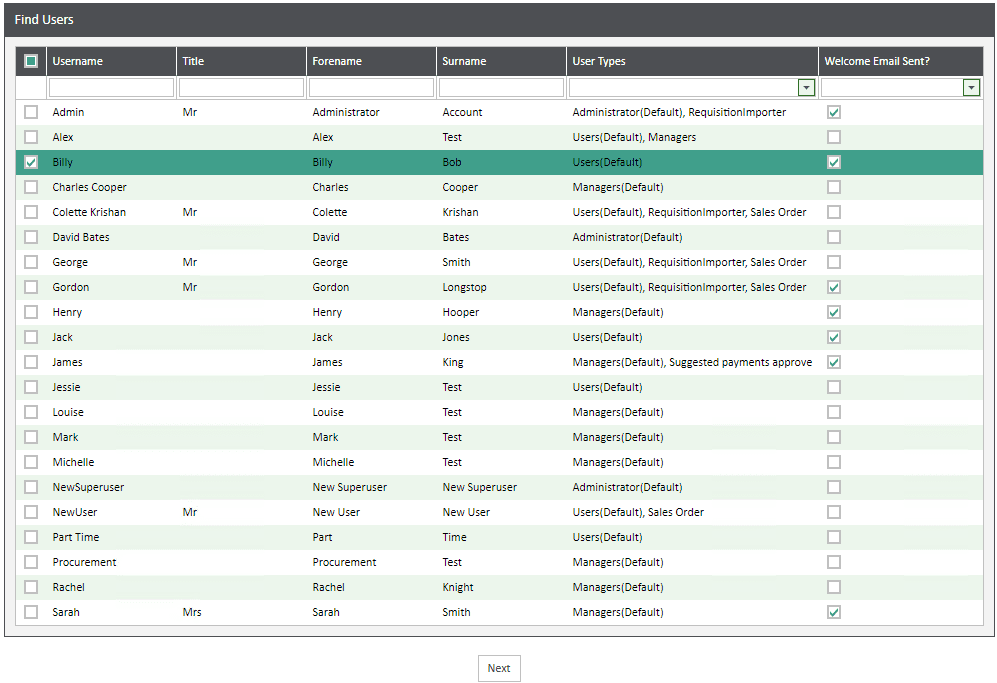
This wizard can update user details from their Purchase Ledger account setup; it can either update bank details or home address details.
Choose the user(s) to update and click Next.
Select whether to update either the bank details, home address or both and click Update.

WAP will then notify the users and details that have been updated; these changes will show on their WAP user profile and the user’s HR records.

3. HR User Type Permissions
Within the User Types, there are HR permissions which can be allocated as required. These permissions are detailed below.
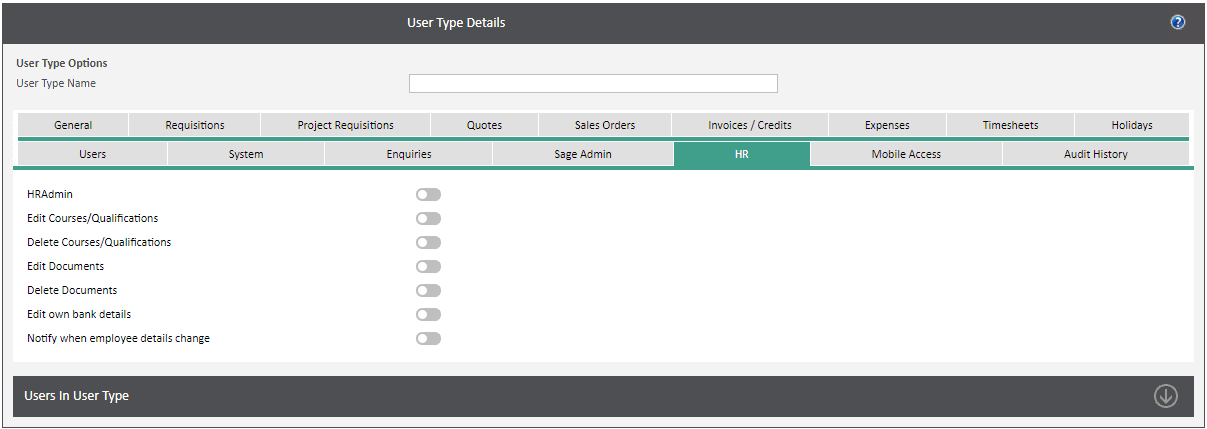
HR Admin: if this is ticked, the user will be able to access the HR settings under System Settings.
Edit Courses/Qualifications: if this is ticked, the user will be able to edit courses and qualifications that have been allocated to themselves. Usually this would just be an HR admin permission.
Delete Courses/Qualifications: if this is ticked, the user will be able to delete courses and qualifications that have been allocated to themselves. Usually this would just be an HR admin permission.
Edit Documents: if this is ticked, the user will be able to edit any documents that have been allocated to themselves. Usually this would just be an HR admin permission.
Delete Documents: if this is ticked, the user will be able to delete any documents that have been allocated to themselves. Usually this would just be an HR admin permission.
Edit own bank details: this will allow users to make changes to their bank details under their HR account.
Notify when employee details change: if ticked, users within this user type will get notified when an employee makes changes to their employee details.
4. HR User Settings
On a user’s WAP profile there are a number of tabs within the HR tab to configure additional details.
4.1. Details Sub Tab

None of these fields are mandatory.
Also known as: free text field to enter any other names the user may be known as.
National Insurance Number: free text field to enter the user’s NI number.
Date of Birth: calendar drop down to enter the user’s date of birth.
Gender: free text field to enter the user’s gender.
Personal email address: free text field to enter the user’s personal email address.
Home phone number: free text field to enter the user’s home phone number.
Mobile phone number: free text field to enter the user’s mobile phone number.
Ethnicity: free text field to enter the user’s ethnicity.
Religion: free text field to enter the user’s religion.
Medical Information: free text field to enter the user’s medical information.
House Number/Name/Address Info: free text fields to enter the user’s home address.
4.2. Emergency Contact Sub Tab
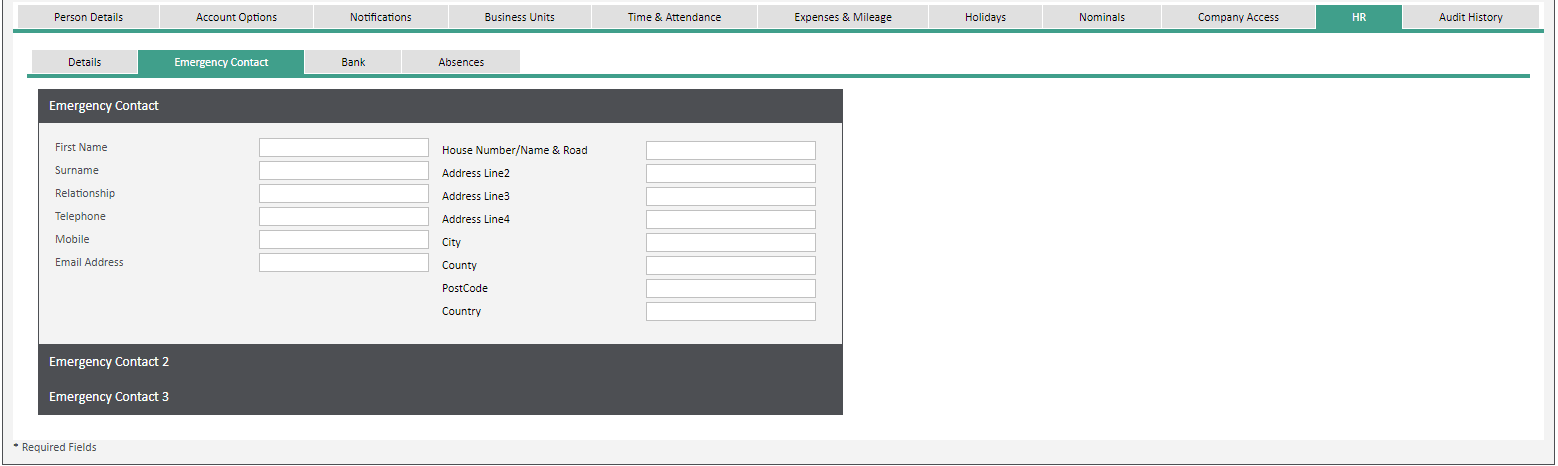
Users can enter up to three emergency contacts within their HR profile which will be visible to the Admin user here. No changes can be made here to the emergency contact information; end users will manage this data.
4.3. Bank Sub Tab
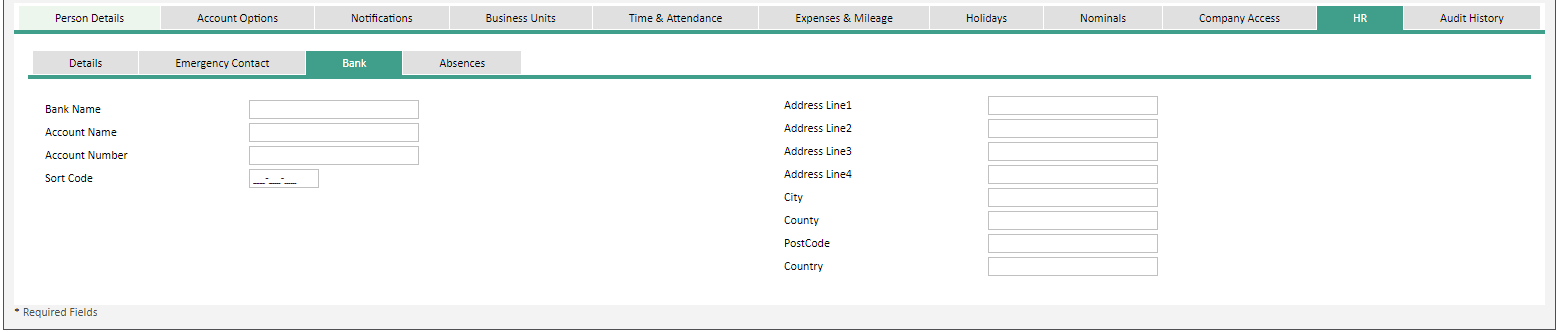
Bank Name: free text field to enter the user’s bank name.
Account Name: free text field to enter the user’s bank account name.
Account Number: free text field to enter the user’s bank account number.
Sort Code: free text field to enter the user’s bank sort code.
Address Info: free text fields to enter the user’s bank address.
4.4. Absences Tab

This tab will show any absence data and the Bradford score for that user.
5. User’s HR Profile
At the top of the screen users will see a HR button that they can click to access their HR information.

N.B. it is not possible to access this if accessing a user’s profile through delegate switching.

Once users click to access their HR profile, they will see a prompt to enter their password again. HR information cannot be viewed until the user enters their password.

5.1. User's HR - Summary
Once the user has re-entered their password, they will see two summary breakdowns.
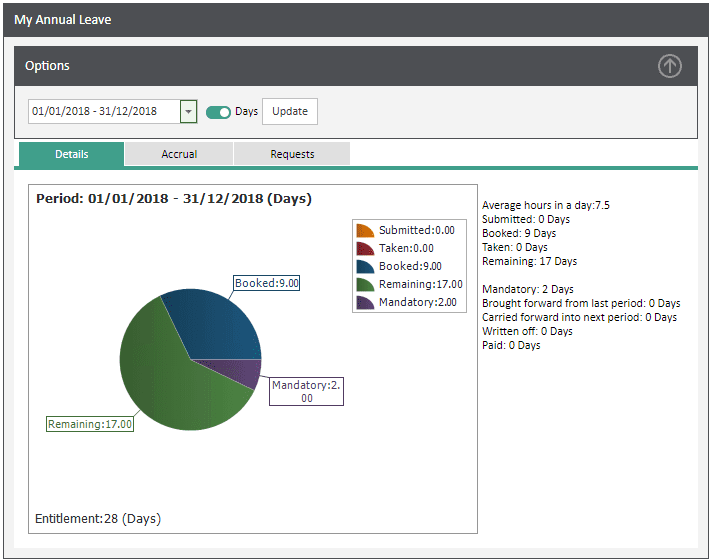
Holiday Summary
This will show to the user their current holiday entitlement breaking down into days submitted, taken, booked, remaining and mandatory.

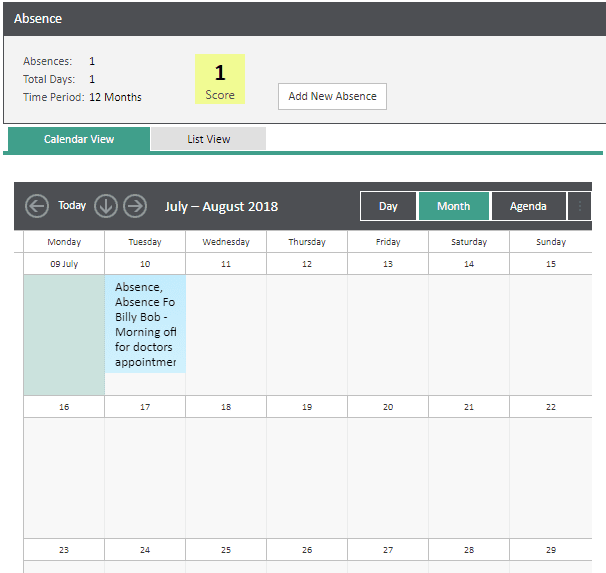
Absence
This will show to the user their current absence data and Bradford score. There is also a link to the user for adding a new absence.

5.2. User's HR - My Details
My Details

Once saved, these details will update through to the user’s WAP profile and HR Admin users will be notified of changes that have been made.
Emergency Contact
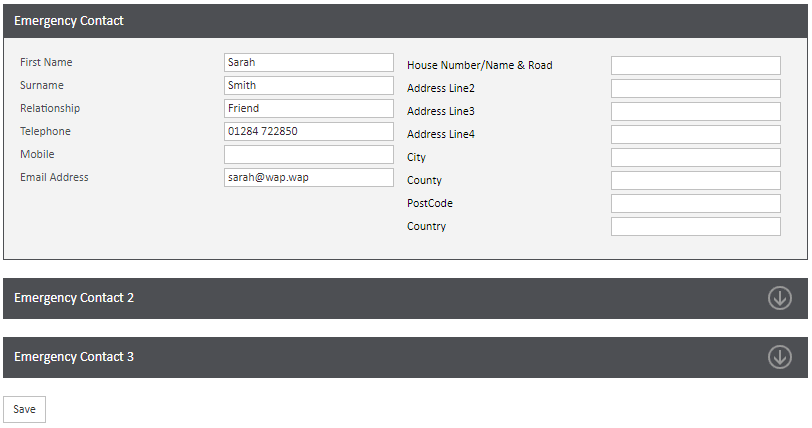
Up to three emergency contact details can be added by the end user; once saved this information will then be displayed on the user’s HR tab on their WAP user profile.
Bank Details
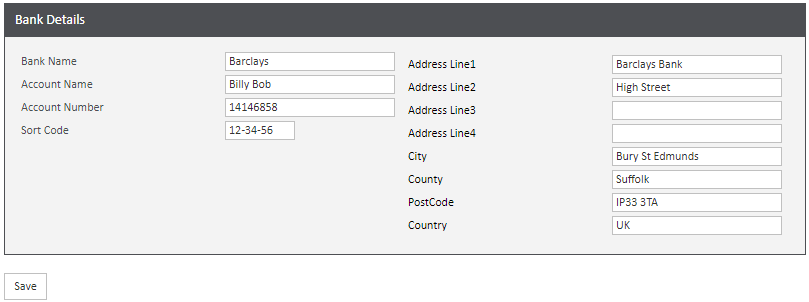
Users can update their own bank details (depending on the User Type permission); once saved it will update their HR tab on their WAP user profile and also update their Purchase Ledger account in Sage.
5.3. User's HR - Absence
Holiday Entitlement
This screen will show to the user their current annual leave and any future entitlement; the accrual tab and requests will show more information to the user about any holiday requests entered through WAP.
Sickness
The user will see a breakdown of their current absences within the last 12 months; either by a calendar or list view.
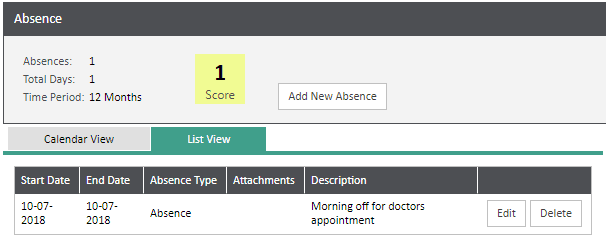
To record a new absence, click the ‘Add New Absence’ button. This screen is used by the end user to record any absence; different types of absence can be selected from the drop down list as were set up by the HR Admin.

Start Date / Time: select the correct start date and time that the absence started.
End Date / Time: select the correct end date and time that the absence ended.
Absence Type: choose from the drop down list the correct type of absence.
Description: enter a description of the absence period – it is mandatory for the user to enter details of the sickness.
Files

Attachments can be added here, i.e. a sickness note or doctors certificate, to validate the absence period. This attachment can then be viewed against the absence record.
5.4. User’s HR – Employment
Job Roles
All job roles allocated to the end user will be visible to them here.

5.5. User's HR - Documents
Appraisals
Any appraisal that has been linked to the user will be visible; if there is an attachment the user will be able to view this by clicking on the View button.

If a date, time and location were entered when the appraisal was created, an Outlook invite would be sent through to the user’s email account linked on their WAP user profile.
Certificates
Any certificates linked to the user will be visible and attachments can be viewed by clicking the View button.

If the user has to confirm they have read the document, they would need to download the attachment and then click to say they have read this document.
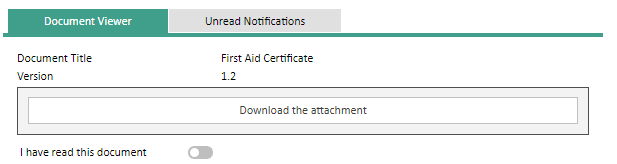
Unread Notifications
This tab will provide further information on when the user was originally notified, whether an email was sent and whether confirmation is required.

Contracts
Any contracts linked to the user will be visible and attachments can be viewed by clicking the View button. If required when the contract was set up, the user would need to confirm they have read the document.

Courses/Qualifications
Any courses or qualifications linked to the user will be visible and can be viewed to see further details such as course dates, qualification dates etc. Courses that have expired will be highlighted in red while courses that are close to the qualification expiry will be highlighted in orange.

Company Policies
Any company policies linked to the user will be visible and can be viewed to see any documents attached and to mark as read if required.
